This time of year
our skies are so clear light blue.
Combine that with the bright white snow,
and it is a fresh happy color way.

That's my inspiration for this art group.
-Cheery light blues and greens-
Here is the "How -to"
so you can paint art for a happy winter wall.
Using fence board,
I built my pieces
11" x 11" for the squares
and
11" x 29.5" for the long tree.
Base painting everything in a brown wash,
then brushing on one coat of white primer,
lifting up on the edges to leave rough brown reveal.
Here are the paint colors.
Think pale - adding lots of white to mix these.
Dry brush white over all colors.
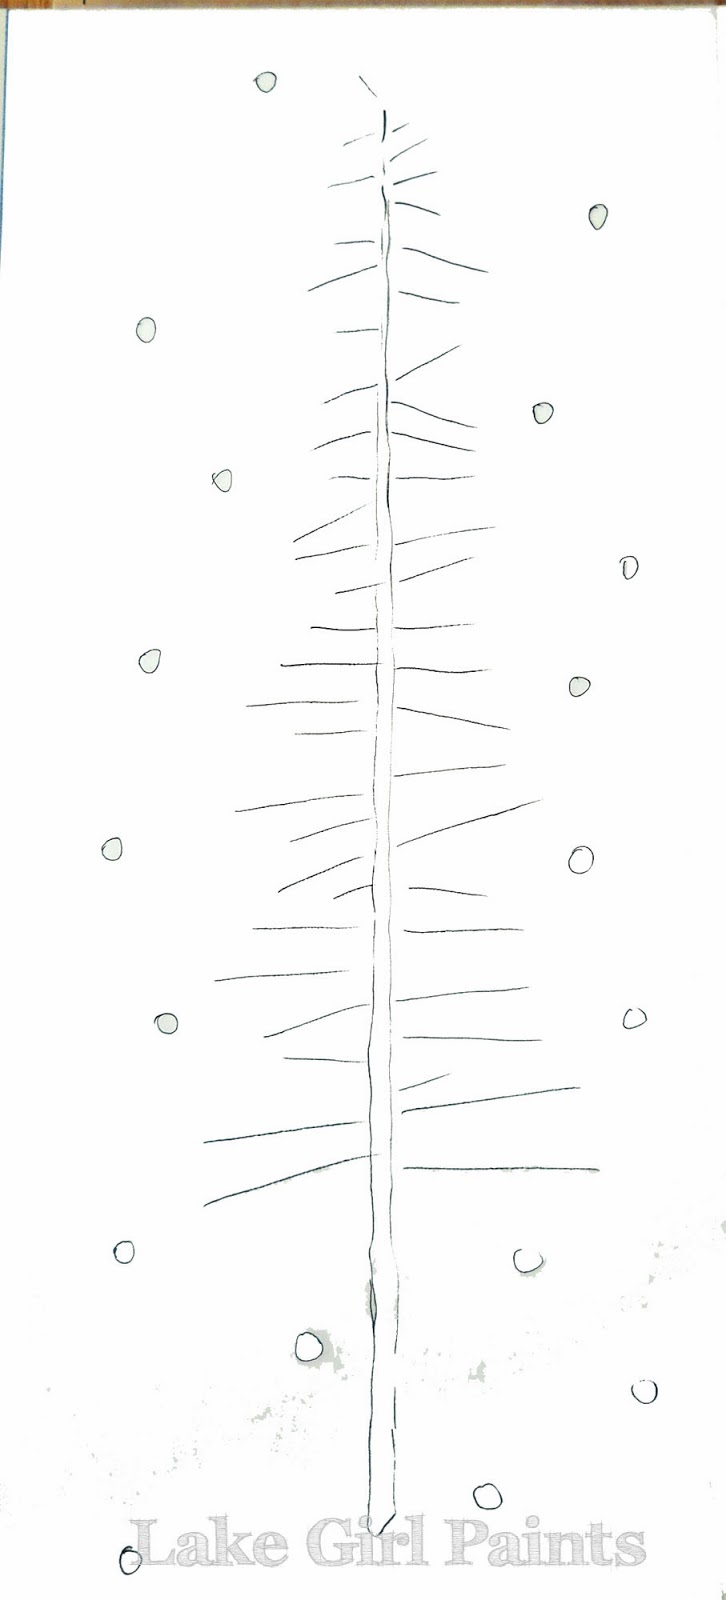
Here are the templates I used.
You can save image
and then enlarge print to copy.
Starting with the tree,
use a mushroom color and flat brush
for the trunk.
Then paint in the mushroom branches
with a flat brush, pulling.
I used leaf green with white for the
pine greens. This is what my old brush looks like,
irregular and thin - great for branches.
You could use a new brush too,
but you will get a little more texture with an old one.
Here's the pine needle brush stroke demo.
This paint application will make the project speedy.
Just use a pouncing up and down action.
To deepen browns:
Shading the white snow dots with blue.
Then I dry brushed white overall.
Birdie on Branch gets the same tree treatment
except with some white line detail.
Then use the bird pattern like a "paint by number"
filling in the areas with camel, white, and gray.
Then with some watered down black,
take your finger and blend some of the gray edges
to soften.
Sweet little eye deets.
And a cheery note to go on the mint green:
Maybe this can be your
"After Christmas" project! : )
Here's to happy art and handmade homes!
Have a great weekend my creative friends,
Deb
Sharing At: