Friday, March 30, 2012

How to Paint a Children's Canvas Growth Chart


I'm excited to share some tips on painting canvas with you!
Really, canvas by the yard is not expensive (maybe around $5-$7 a yard)
So, this is an inexpensive project and worth a try.
It's just paint.
You can always paint over top.
You can really correct anything with paint.
Even though this design has shading details, you don't have to include that.
You can keep it as simple as you like.
You are welcome to try this pattern for your personal use.


So I buy the inexpensive Canvas by the yard:


Measure  24" X 52".
I tear the canvas at those points:


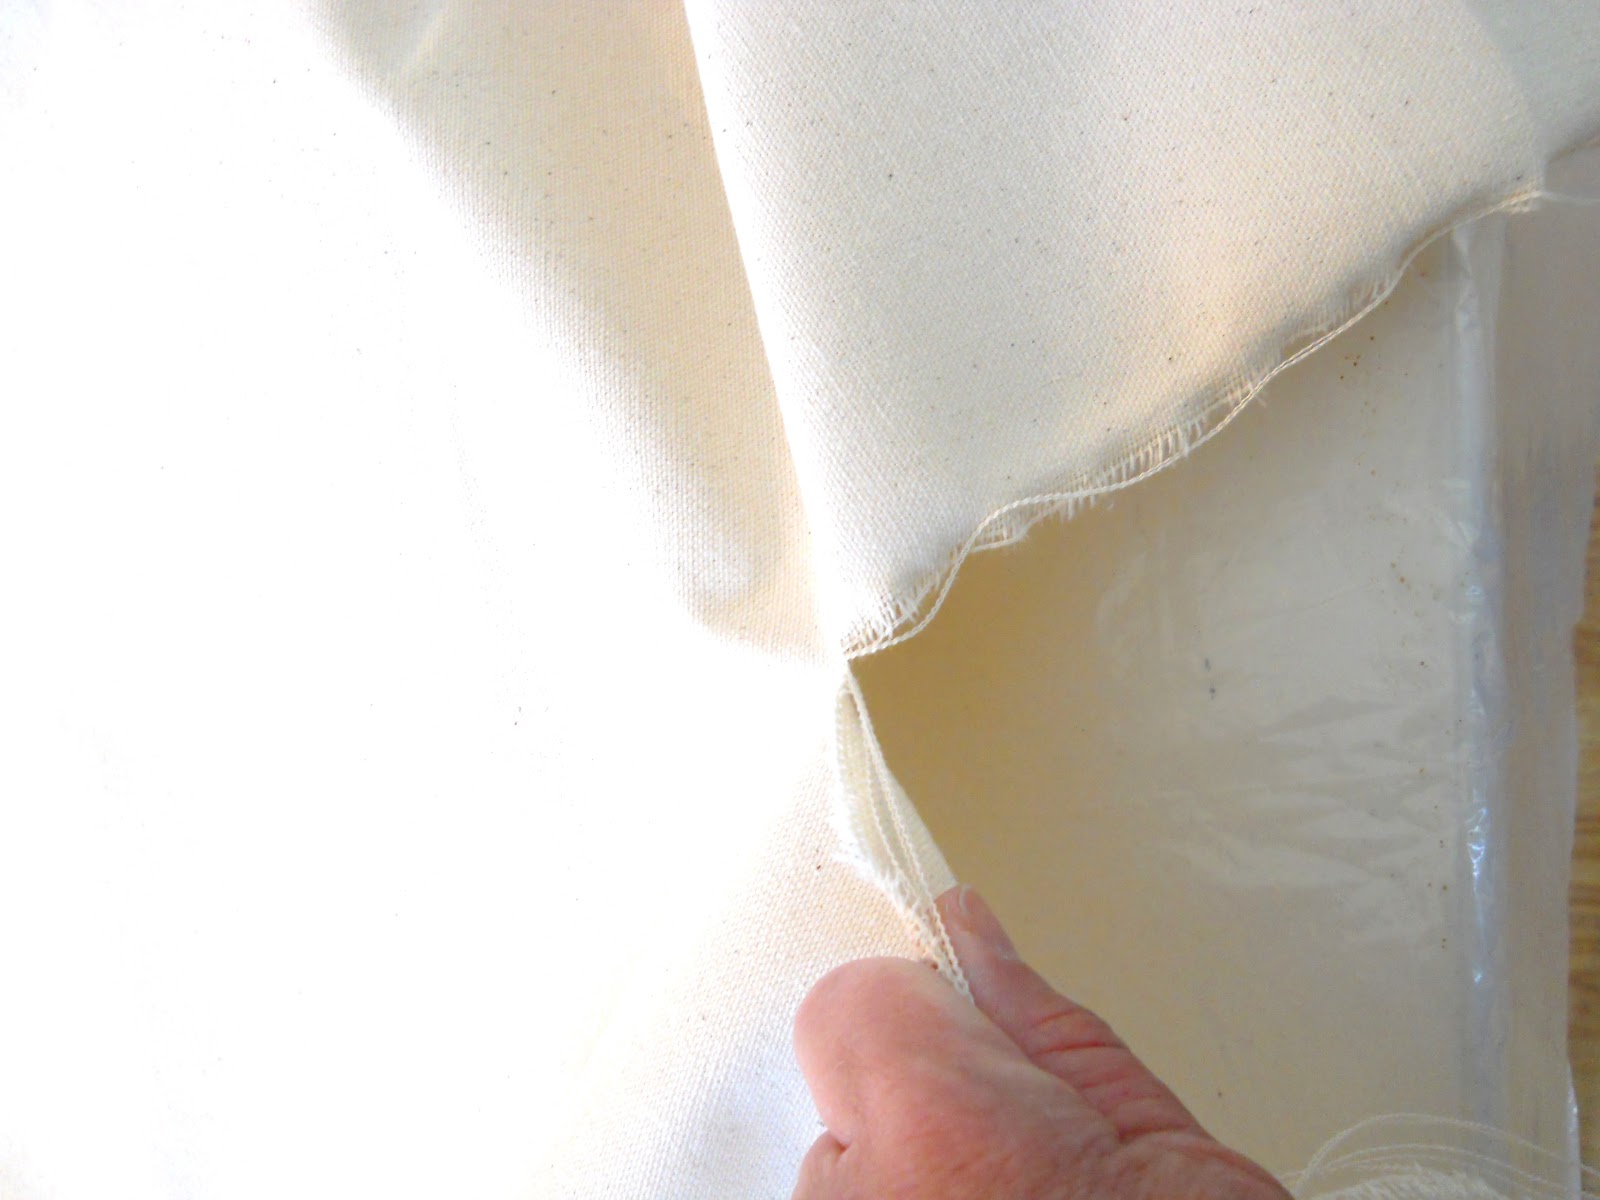
Tear all loose threads and lay out flat on table.
Paint one side at a time with a Flat paint.
The paint will need to be fluid so you might have to add some water.
I used Kilz:


Here are some of the paints I used:


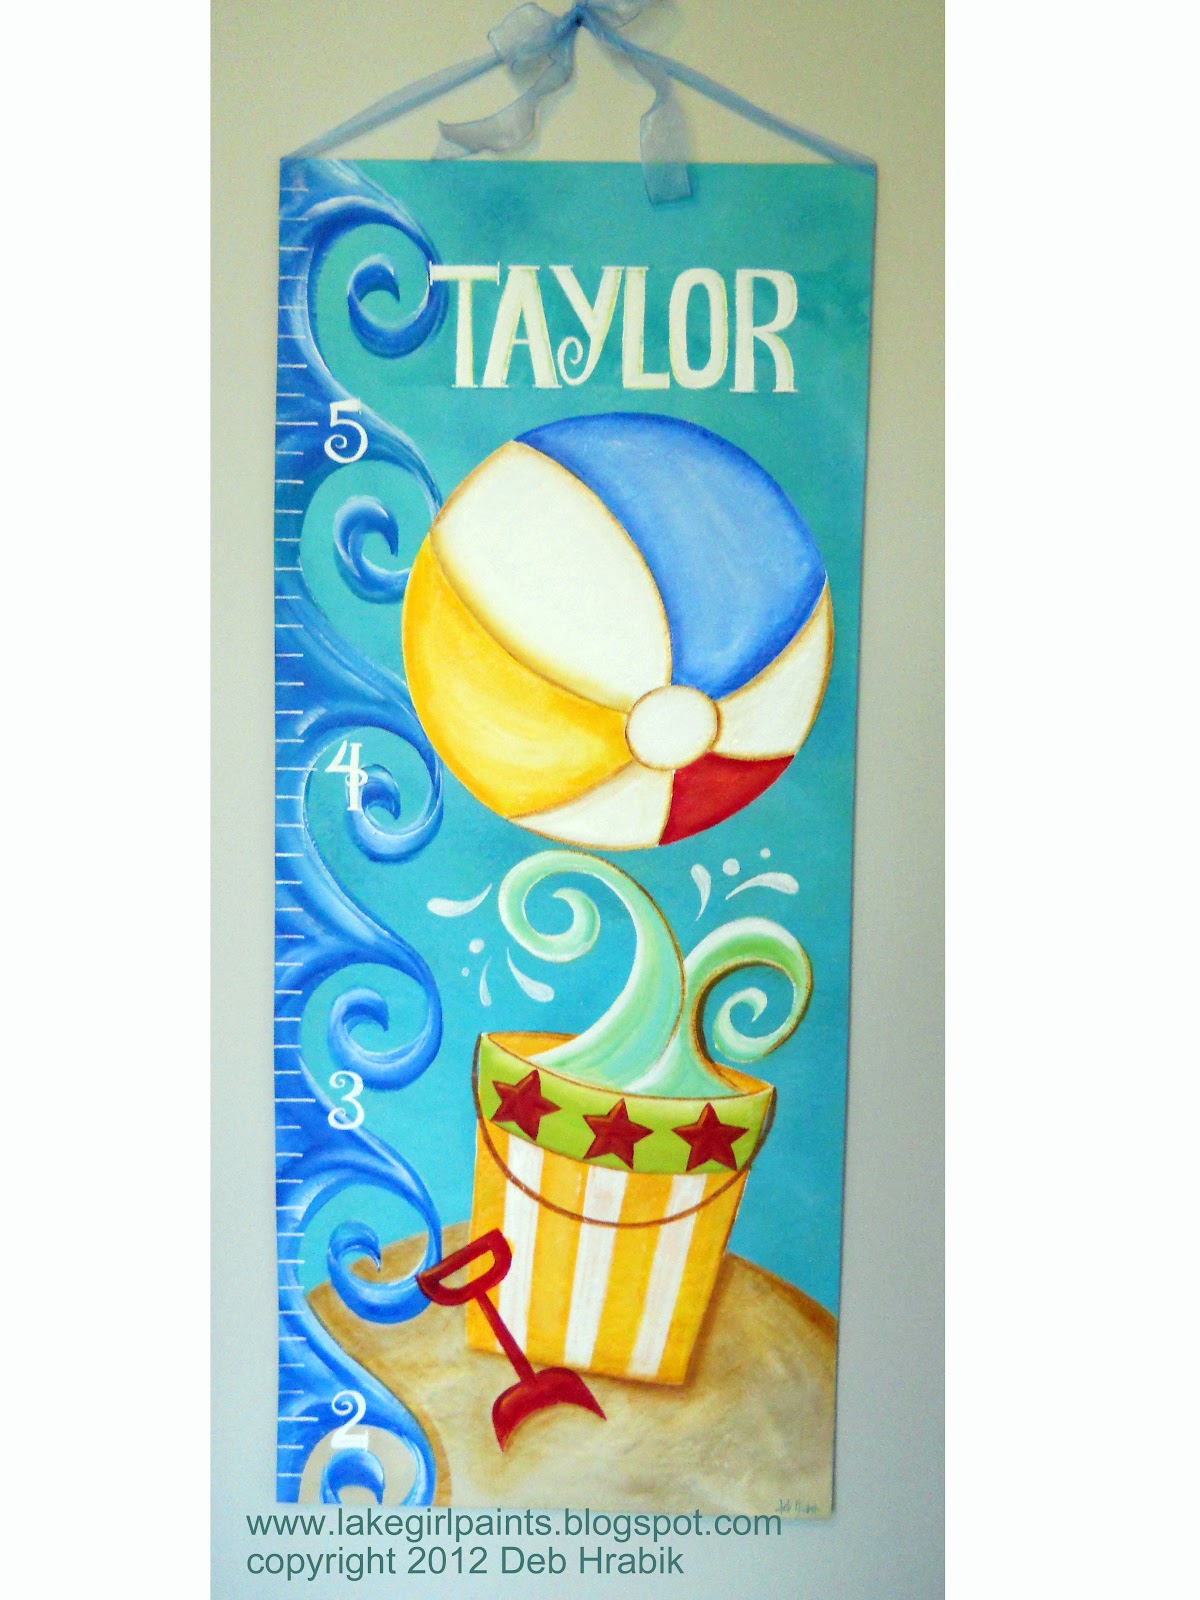
Mixing 2 or 3 shades of blue I brushed on the background.
Then using camel and white and raw sienna you are ready to paint the sand.


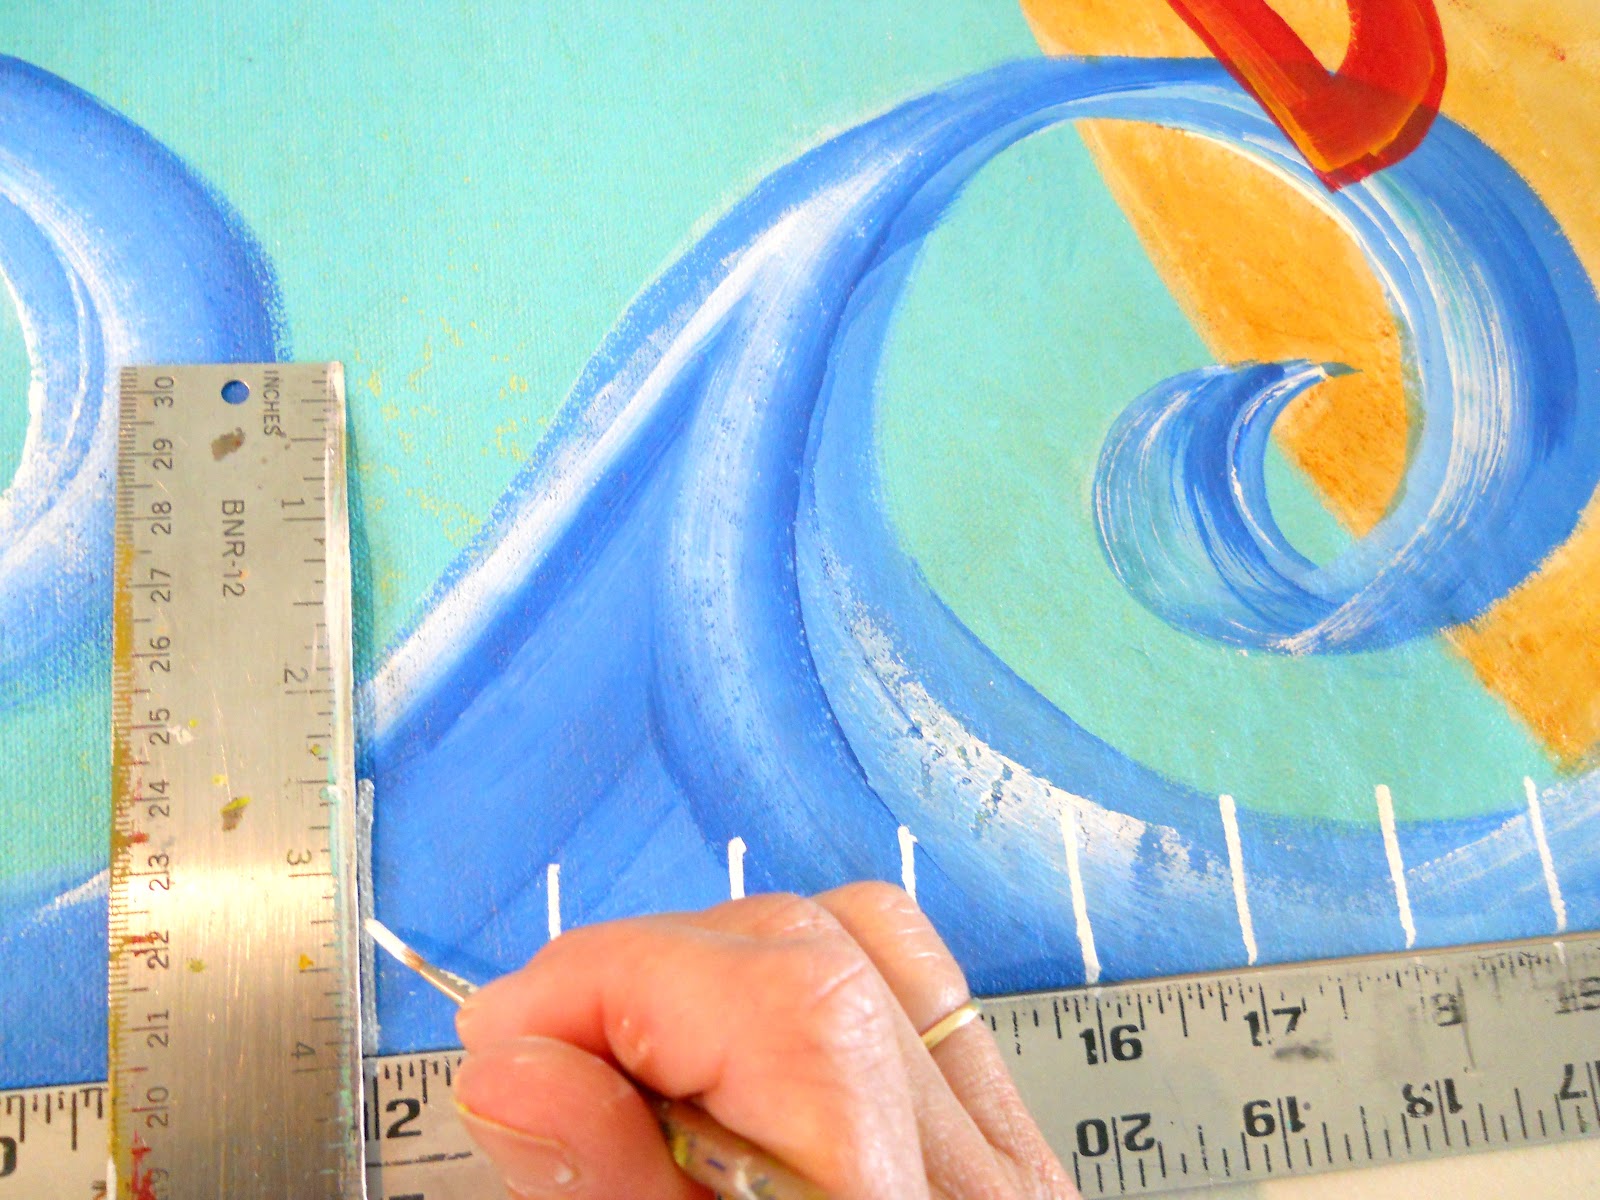
Tape off a section on the side for the waves.
This will be your paint guide to keep them about the same size.


Lay out templates shapes including a circle for the beachball
and a bucket shape.
Lightly pencil around and fill in with white paint.


Fill in the shapes with color and design.
I like to shade some of the areas with raw sienna and clear glaze:


Next let the canvas dry and trim the raw edges.
I use a blow dryer to speed the process.


Turn the canvas over and turn edges under at least 1".
You can turn under more to achieve the finished size you want.
Start by just turning under the 2 long sides and sealing with glue.
Here I just used Elmers, but Tacky would probably work better.
The finished size on my canvas was 20 1/2" x 48 1/4".
You might let these 2 sides dry a bit and lay some magazines
or something heavy on them to seal the edges.
Make sure your canvas is square by resting it in the corner of a table
making sure the bottom edge and side both line up with
the edges of the table.
Cut a 1" wide piece of wood trim (I used paneling)
the width of the canvas (mine was 20 2/2").
Lay the trim wood and the 6' length of ribbon
at the top and turn top edge down to glue and seal.


Turn under bottom edge and glue.
Use a tape guide now at the top for name placement.


Then make ruler markings on the side.


Add any finishing touches.
It's ready to hang, making sure it's at the right heighth from the floor
matching your measurements on the canvas.


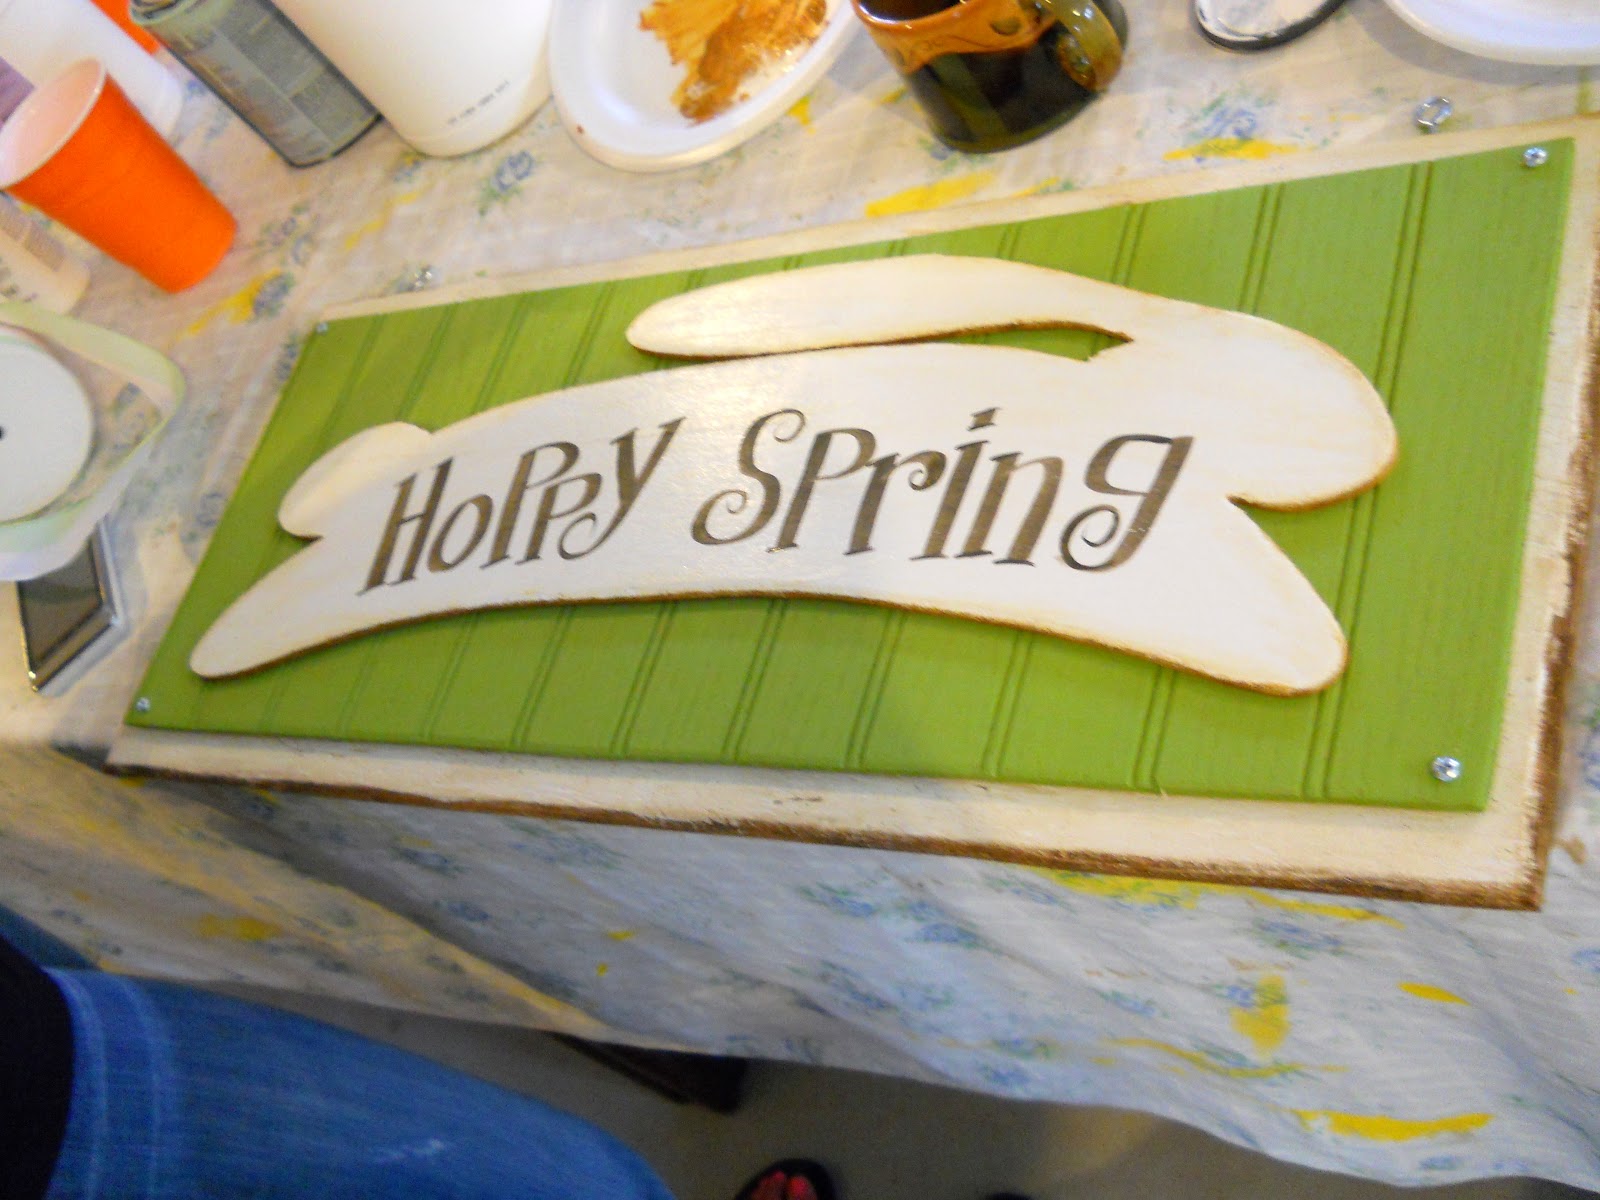
Here are some other design ideas.
Of course, Winnie the Pooh and Peter Rabbit
would be for personal use.


You can do it!
I hope you give it a try.


Thanks for stopping!  Would enjoy your comment.

Tuesday, March 27, 2012

Subway Art - Grey and Black

    There's something about the text that rambles across the page.
  Words can be expressive in a phrase
or stand on their own
to create a statement
with Subway Art.


Both of these pieces use Lee Brice Lyrics.
One is done white on Black.
The other is White on Grey.

After laying out the text in Photoshop,
I sent the jpeg to Staples and had an egineering print made.
Cheri has a great tutorial on the specifics for this.

When ordering an engineering print your design can only be done
in black and white values.
You can create a grey background by using your mixer brush in photoshop.
Pick a rough round bristle brush in photoshop and loosen the spacing.
Brush white across black background.
This creates a distressed, washed out look.
As you work over the entire surface, the black will appear lighter.
You might need to add black back on top of white brush strokes to smooth.

When you receive your engineering print,
it will be much lighter in weight than poster paper.

I actually pressed the back very lightly with a low iron.

I built the box frame from MDF (about $13 for a 4' x 8' sheet)
and wood scraps for the sides.


So here you see the text print
and the MDF box frame.
I painted all of the edges white for my grey poster.
I painted the edges black for the black poster.

Next, center your poster over the frame.
Keep your hand in the center of the poster
and begin there to spray glue onto the wood
gradually working your way out to the edges.
Spray glue and Press paper.
Keep repeating until entirely secure
all the way to edges.


Let dry.
I used a blow dryer and it was ready to go
within the hour.

Then hand sand all of the edges and even the paper
where you would like a more worn look.

Here is what the box frame looks like on back:


This is an inexpensive project.
It was less than $10 but gives
a big impact.
This poster art measures 16" x 24".


It's fun to find a personal text
that you love
and
Express Yourself
with
Subway Art.


Lee Brice Lyrics for personal use only.


Thanks for visiting!  Look for more colors in Subway art here soon.
I always enjoy hearing from you

Wednesday, March 21, 2012

Water Ski frames Lake Living

I caught a glimpse of Summer
in mid March


Soaking up some warm sun,
reading a magazine,
and watching Taylor play in the sand...
a day to remember.


Now for stylizing and framing
my sneak peek of Summer.


With a small bit of photoshop editing
you can change any photo into
what looks like a "Paint by Number".

Begin with opening your photo selection:


Go to Filter>Artistic>Cutout:


You may have to resize your photo.
Look in the bottom left corner of your screen
and adjust scale.  I went to 12% here.


Then you can make any adjustments
with the slide bars in the upper right corner of your screen.


That's it.
Now you have a painted style photo to frame.


An old wooden water ski
makes a great display piece for
Lake Living Pics.
After sanding and painting,
add some dock tie downs
and magnetic acrylic photo holders.
Now you can showcase
your beach photos.


Here are a couple other
"before and after"
of the photoshop cutout:


and


I hope this gives you lots of ideas for photo styling and display
and was a bit of summer sunshine
to your blog visit.


Linking to Centsational Girl                               


Sunday, March 18, 2012

How to make Easter Wall Art

It's time to have a craft party.
This beadboard bunny sign will be a fun spring project.

 
Pin It!
 
 
Here's what you will need for wood:
3/8" thick plywood for backing, cut  10 1/2" x 25"
Beadboard panel (I used unfinished birch), cut 9 1/2" x 24"
Bunny cut from MDF (it is a thin wood panel about 1/8" thick)
You are welcome to enlarge the bunny silhouette to use as a pattern for your personal use.


Carve the edges of the plywood back using your jigsaw
holding it at a slight angle.
The angle of the cut will look something like this:


See, the edge will have a slightly carved look
giving it that rustic feel.


Sand all of your pieces.
Now you're ready to paint.
Paint the back of the plywood black so it will look finished when complete.
Paint the front of the plywood white leaving the edges for raw sienna color.


Splatter white with camel color paint.


Paint the beadboard.
I used blues and shaded the edges a bit.
Here are some colors I mixed:


I painted the bunny white and rubbed a raw sienna wash over top
then brushed raw sienna on the edges.

Using a script font from the computer,
I printed out the text
to fit the length of the bunny.


Using my patio door as a light box,
I held the text printout right side against the window
and then using a pencil I traced the letters on the back side.
Now I have a pencil line that will transfer to the bunny
when I lay the pattern in place and press down on top of the text with a pencil.
That gives me a nice pattern to follow with gloss paint and my liner brush.


Use 1/2" sheetmetal screws to attach beadboard at 4 corners.
Use 2 screws to attach bunny on top of beadboard.


Optional to use sawtooth hangers on back
or two 1 3/16" screw eyes to hang from ribbon on top.


The Great Thing about a Craft Party is
that everyone has their own ideas
for color and text.
Let's see what the girls came up with!


Pin It!


Such a fun time with family!
Feel Free to use this design idea
for a craft party of your own.

Thanks for stopping by.
 
 
Linked to :